Make a small scouting loop
Walk a short loop before taking anything out of the bag. Notice the direction of shadows, the quality of the walking surface and the places where other visitors naturally pass. Look behind the proposed subject position, not just toward the view. A bright bin, sign or pale wall can become the strongest shape in the final photograph. Move a little sideways and see whether the background becomes simpler without losing the setting’s character.
Think in three distances: a foreground detail, a comfortable place for a person or blanket, and a quieter background. Grasses near the lens can create depth, but do not enter planted beds or lean over a fragile edge to find them. If the only workable angle requires standing in a road, blocking a path or disturbing habitat, it is not a workable angle. Find another spot rather than making the safety problem part of the composition.
Access is part of the photograph
Ask what every person in the group needs to reach the setting and stay comfortable there. A route described as short may still include loose gravel, steep slopes or steps. Check the land manager’s current information, accessible facilities, transport options and any permit requirements. Public access does not automatically allow commercial photography, lighting stands, tripods or a large picnic setup. Rules can vary by location and by the scale of the activity.
For example, the Royal Parks in London, New York City’s Central Park and San Francisco’s Golden Gate Park each contain many distinct settings and operate under their own management arrangements. These are useful examples of varied urban landscapes, not recommendations that a particular lawn is available today. Consult the relevant official authority before planning equipment, group size or a paid session. Do the same for smaller local parks; familiarity is not permission.
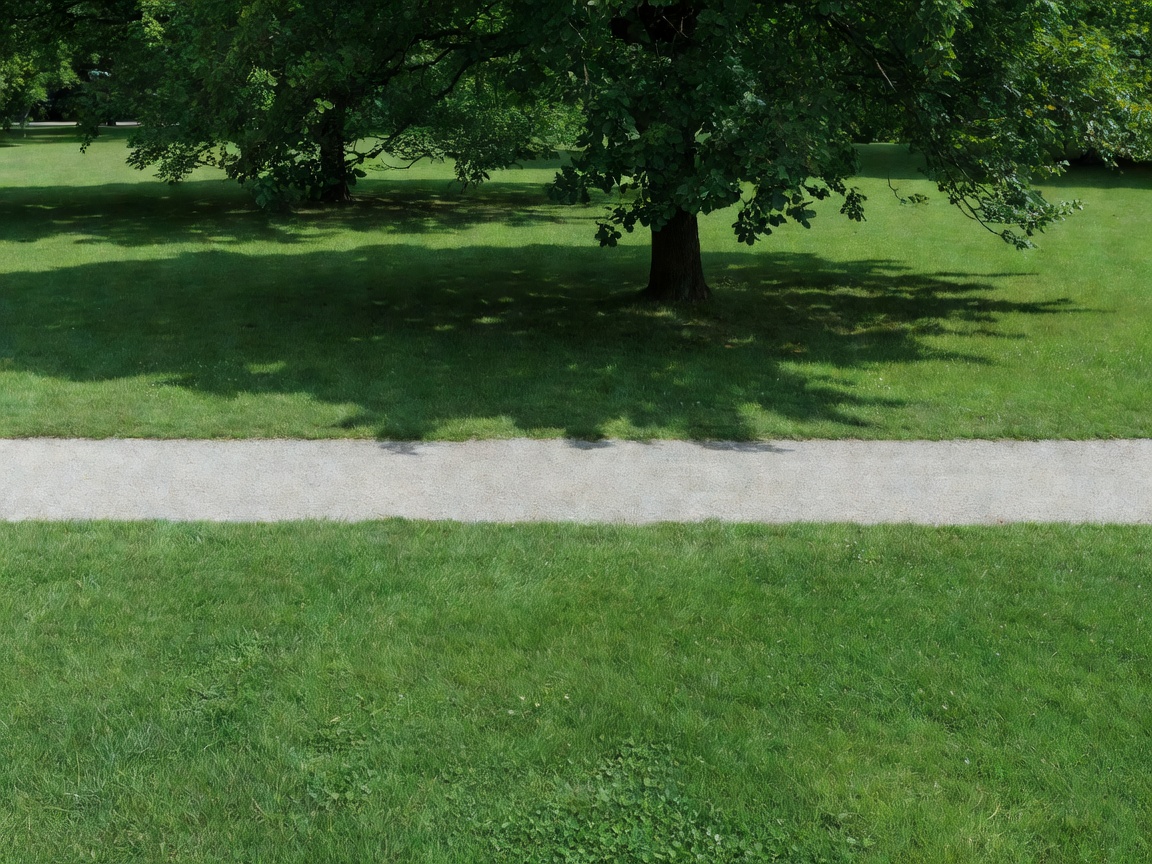
Example conditions, not a live report: a level permitted lawn beside a broad path, open shade from a tree line and a nearby sheltered alternative. Confirm each detail for your actual visit.
Match the setting to the light
A woodland edge often provides a dark background with brighter sky in front of the subject. An open meadow may provide more even surroundings but little shelter from direct sun or wind. A pale courtyard can bounce light into faces, while a deep covered area may make eyes look shadowed. None of these settings is automatically better. Place a person briefly, ask whether the light feels comfortable and look at both the face and the background before committing.
Large landscapes add their own constraints. The Lake District and Yosemite National Park illustrate mountainous settings where weather, terrain and travel time can matter more than the view. The South Downs and the National Trust’s wider estate offer other landscape contexts with location-specific rules. Do not infer safety, access or picnic permission from a scenic photograph online. Stay within your skills and use current official advice rather than treating this guide as a route description.
Evaluate three things on arrival
Ground and movement
Look for stable footing, an unobstructed route and enough space to move around the frame. Check for wet grass, loose edges, sharp litter and low branches. Keep paths open and position bags where they will not trip anyone.
Background and light
Look for a quiet area behind the subject and light from a comfortable direction. Check for moving patches of sun across faces. Take a test frame, then enlarge it to inspect bright distractions and unintended objects near the head.
Conditions and fallback
Consider wind, heat, insects, water levels and local warnings. Agree on a short route back and a sensible stopping point. If thunder is audible, leave exposed locations and follow local lightning-safety guidance.
Build a flexible composition
Make one wider frame that establishes the environment, one medium frame that connects people with the picnic and one close detail of hands, fabric or foliage. This sequence makes a modest setting feel complete without pretending it is somewhere else. Use a path or blanket edge as a gentle leading line, but avoid forcing every element into symmetry. A little negative space can give an outdoor image the same sense of ease that the people experienced.
Before leaving, check the ground for litter, small props and dropped lens caps. Leave natural objects where you found them and avoid geotagging sensitive sites in a way that encourages damage. The principles promoted by Leave No Trace are a useful starting point, alongside local rules. Your scouting notes should record what needs checking next time, not turn one successful visit into a promise that conditions will repeat.