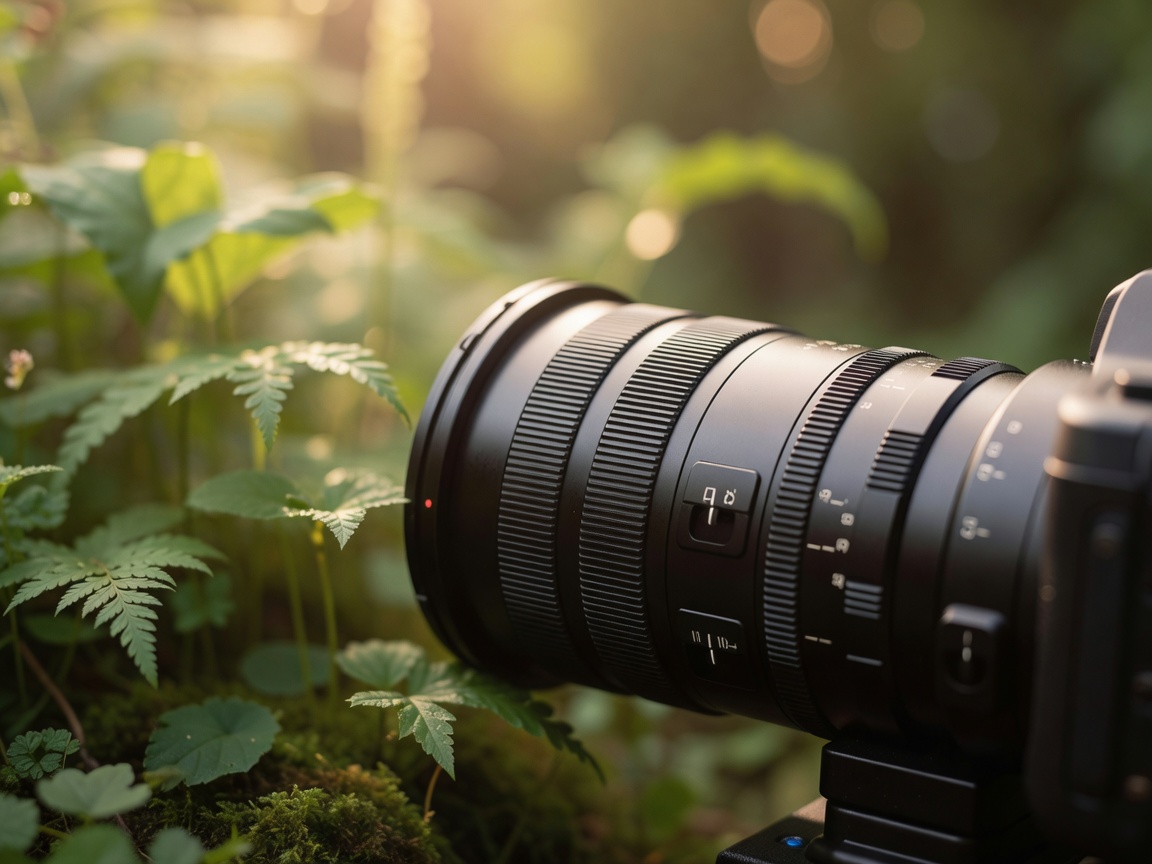
Find the light source you can use
On a clear day, the sun is a small, intense source that can create sharp shadows and uncomfortable squinting. In open shade, a broad area of sky can become the main source instead. Place a person near the edge of shade, facing generally toward that open sky, and check the eyes and cheek shadows. Avoid moving so close to the edge that direct sun crosses the face. The useful position may change as branches move or the sun shifts.
Overcast skies often soften shadows, but they do not remove direction. A bright opening in the cloud or an unobstructed part of the sky can still produce a more flattering angle. Turn the subject gradually and watch how the face changes. Dark buildings or dense trees nearby can absorb light on one side. A pale path may reflect light upward. Notice these surfaces before deciding that the camera is responsible for a dull or uneven result.
Use low sun without depending on it
Golden hour is a planning idea, not a guarantee of warm light or clear weather. Its timing and duration vary with location, season and horizon. Buildings, hills and trees can block the sun earlier than an open-horizon estimate suggests. Tools such as PhotoPills and The Photographer’s Ephemeris can help visualize direction, but a prediction does not replace an on-site check. Keep a shaded alternative and avoid scheduling everyone’s comfort around a single brief effect.
Backlight can separate hair, grass and fabric from a darker background. Position the sun outside the frame when practical, then check for flare and reduced contrast. A lens hood may help, though its effectiveness depends on the angle. Never look at the sun through an optical viewfinder or point an unprotected long lens at it. If backlight creates an extreme exposure gap, simplify the scene or move to gentler light rather than forcing the sensor to record everything.
Expose for the photograph you need
Start with the movement in the scene. A seated portrait still includes breathing, shifting hands and wind-blown fabric. Use a shutter speed that keeps the important movement acceptably sharp, then choose an aperture that provides enough depth of field. Raise sensitivity when necessary instead of accepting unwanted blur merely to keep a low ISO value. There is no universal outdoor setting: subject distance, focal length, stabilization and the desired effect all matter.
Review the histogram and highlight warnings where available, but interpret them in context. A small specular reflection on a cup is different from a large patch of lost detail on a face or pale blanket. Histograms may be based on the camera’s processed preview rather than the full raw file. Check important areas at a useful magnification and make a fresh test when the light changes. On a phone, tap the subject and adjust exposure deliberately instead of assuming the automatic preview is final.
Example conditions: a seated adult in open shade with a bright lawn behind. Expose with the face in mind, then check whether the background still supports the scene. This is an example, not a fixed exposure recipe.
Choose accessories by the problem
A small white reflector can return a little light to the shaded side of a face or a picnic detail. Keep it subtle and ask whether the reflected light feels comfortable. Silver surfaces can be intense in direct sun. Reflectors, diffusers and umbrellas also act like sails; do not use them in conditions where they cannot be held securely. A helper’s comfort and clear paths matter more than achieving a tiny change in shadow density.
| Accessory | Useful role | Limitation |
|---|---|---|
| Lens hood | Reduce some stray light | Does not prevent every flare |
| White reflector | Soft fill on nearby subjects | Needs safe support in wind |
| Tripod | Repeat a still-life composition | Does not freeze subject motion |
| Polarizing filter | Manage some nonmetallic reflections | Reduces available light; effect varies by angle |
| Spare battery and cloth | Maintain readiness | Require dry, clean storage |
Keep color and focus consistent
Grass can reflect a green cast into skin, while nearby warm brick may shift the opposite way. Moving the subject slightly can be more effective than trying to correct mixed color later. If you shoot raw, a neutral reference frame can support a consistent edit, but it cannot recover every clipped color channel. Focus on the nearer eye for a single-person portrait when that suits the angle, and confirm that all important faces sit within the available depth of field.
Finish each short sequence with a quick check: comfort, focus, highlights and background. Weather protection helps with brief exposure to the elements, but no bag turns severe conditions into safe shooting conditions. Consult the Met Office, National Weather Service or the relevant local authority for current warnings. When the conditions stop serving the people or the photograph, pack away. The useful skill is adaptation, not persistence at any cost.